Spring is when a lot of properties look like they’re drying out… but the building can be quietly taking on moisture. Warmer days, cooler nights, HVAC changeovers, rain events, and closed-up spaces (crawlspaces, storage rooms, mechanical closets) can create the perfect conditions for condensation, lingering dampness, and humidity swings—especially in coastal and high-humidity regions.
If you manage, build, renovate, or maintain properties, this is the time of year to get proactive. Here’s a practical checklist you can use to stay ahead of spring moisture—without overcomplicating the process.
Why spring humidity is sneakier than you think
In many properties, spring moisture problems don’t show up as “standing water.” Instead, they show up as:
- Condensation on ductwork, pipes, windows, or equipment
- Musty odors in closed rooms, closets, or stairwells
- Swelling or warping in wood (doors sticking, floor cupping)
- Rust/corrosion on HVAC components, tools, or stored items
- Clammy comfort even when the thermostat seems “right”
That’s because humidity control is about more than temperature. A comfortable indoor temperature can still come with high relative humidity, especially when outdoor air is damp and indoor airflow is inconsistent.
Step 1: Identify your “risk zones”
Most spring moisture issues are predictable once you know where to look. Start with these high-risk areas:
Common problem areas
- Crawlspaces (vents open/closed seasonally, ground moisture, poor air exchange)
- Basements (cool surfaces + warmer air = condensation)
- Mechanical rooms & HVAC closets (duct sweat, low airflow, temperature differential)
- Laundry rooms (short bursts of heavy moisture load)
- Storage rooms (little airflow, lots of absorbent materials)
- Vacant units / seasonal rentals (closed up for weeks, HVAC off or minimal)
Tip: If you’re managing multiple units, keep a simple log: space + symptom + season. You’ll start seeing patterns fast.
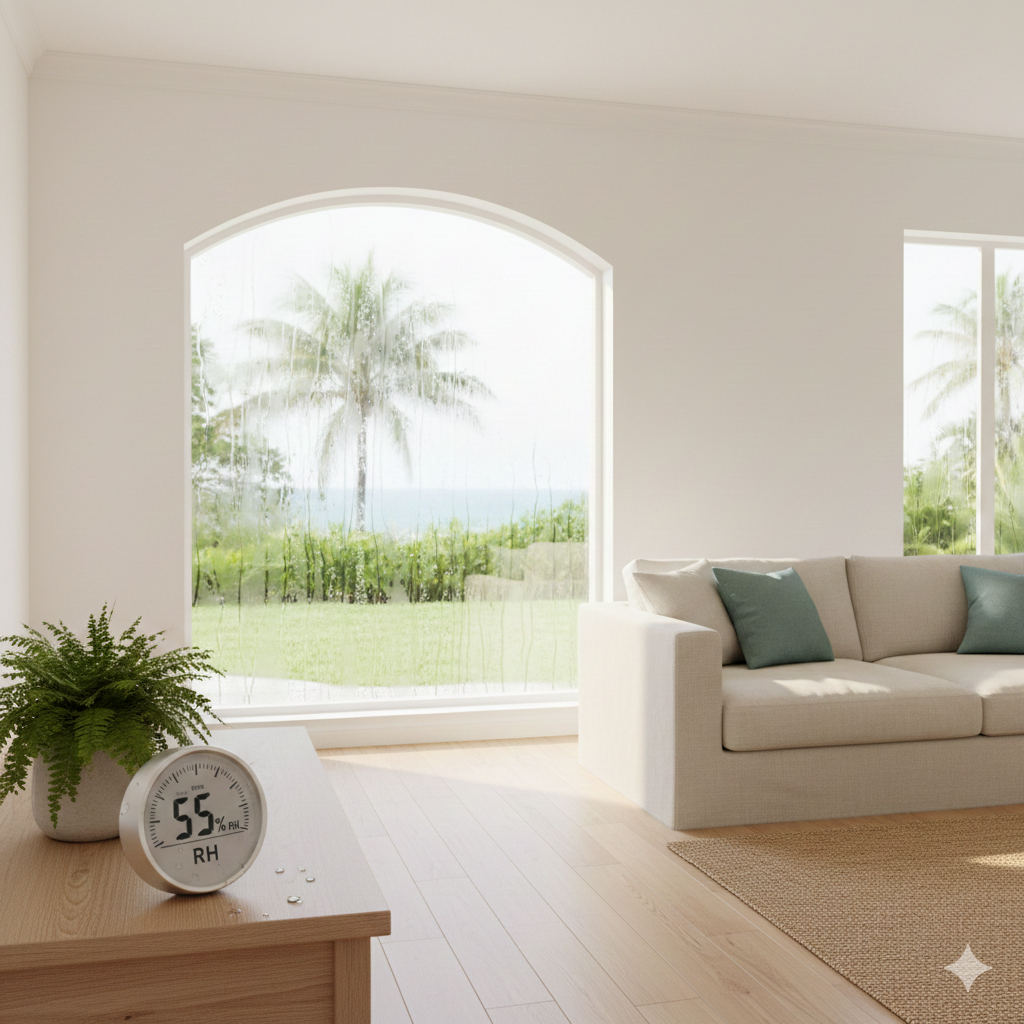
Step 2: Confirm the “real” humidity level (not just how it feels)
Before you guess at solutions, get clarity with basic measurements.
What to check
- Relative Humidity (RH) in the problem space
- Temperature (cool rooms often create condensation faster)
- Consistency (is RH spiking at certain times of day?)
Even a simple hygrometer can help you spot whether you’re dealing with:
- a constant humidity problem (needs dedicated dehumidification), or
- a swing problem (air sealing, ventilation strategy, or HVAC settings may be involved too).
Step 3: Inspect the basics that cause humidity problems
This is the stuff that creates moisture issues even in “nice” buildings.
Quick inspection checklist
- Air leaks: Gaps at doors, attic hatches, penetrations, or rim joists can pull damp air into conditioned spaces.
- Return air issues: Poor returns can create pressure imbalances and drag humid air in from outside or adjacent spaces.
- Bathroom/kitchen exhaust: Vents that terminate properly and actually move air.
- Crawlspace ground cover: Bare soil is a moisture source. A sealed/covered ground is foundational.
- Drainage and grading: Downspouts, pooling, and water direction around the structure.
If these are off, a dehumidifier may still help—but you’ll get better performance (and a better long-term result) when these basics are addressed.
Step 4: Decide what type of dehumidification fits the property
A good rule of thumb: match the solution to the space and the job.
Whole-home / ducted approach
Best when:
- You need broader coverage across living areas
- You want integration with the HVAC system
- You want humidity control that “feels” consistent everywhere
Innovative Dehumidifier Systems’ whole-house lineup includes WH60, WH85, WH100, WH120, WH150, and WH200OA—with sizing based on the structure and conditions, not guesswork.
Dedicated space approach
Best when:
- You’re targeting a specific high-risk zone (crawlspace, mechanical room, storage)
- You need a localized solution with strong moisture removal
- You want a controlled strategy for units that sit vacant
This is often the smarter play for property managers who want repeatable, unit-by-unit consistency.
Step 5: Don’t underestimate drainage (gravity vs. pump)
Dehumidification isn’t just about capacity—it’s also about where the water goes.
Drain planning questions to answer
- Can you gravity drain to a safe location with proper slope?
- Will you need a condensate pump due to elevation or distance?
- Is the drain line protected from clogs, kinks, and freezing (where applicable)?
- Is there an overflow prevention plan (float switch / safety shutoff where needed)?
A properly planned drain setup is one of the biggest differences between a clean installation and a constant maintenance headache.
Step 6: Set up a simple seasonal maintenance rhythm
Spring is a great “reset” moment.
Spring maintenance checklist
- Inspect filters (clean/replace as recommended)
- Check drain line slope and flow
- Confirm condensate discharge location is clear and safe
- Verify unit operation and control settings
- Take a fresh RH reading after 24–48 hours of runtime
For property managers: consider adding this as a standard line item during spring unit turns or quarterly inspections—especially for oceanfront, ground-floor, or high-occupancy units.
Step 7: Use humidity control to protect the property, not just comfort
Humidity doesn’t just affect how a space feels. It affects:
- finishes and trim
- flooring stability
- cabinetry and millwork
- stored linens and furnishings
- HVAC performance and longevity
When humidity is controlled consistently, properties tend to stay more stable, easier to maintain, and less prone to seasonal surprises.
Ready to choose the right solution?
At Innovative Dehumidifier Systems, we help builders, contractors, and property teams match the right dehumidifier solution to the space—whether that’s a whole-house approach, a targeted installation, or a strategy designed for rentals and multi-unit properties.